Who can relate?
You’re on your final set of toes to bar for the workout, two reps to go. Suddenly, you feel a weird burning sensation on the palm of your left hand. You drop off the bar… and stare at your hand in shock...
A rip - right in the middle of your hand.
(Cue the horror music)
You drop to your knees and cry out in agony.
While this may be slightly dramatic, we can all agree that an injury like a rip, tear or blister on your hand can be super annoying. Not only does it hurt, and make showering excruciatingly painful difficult… it can also sideline you from workouts for a few days.
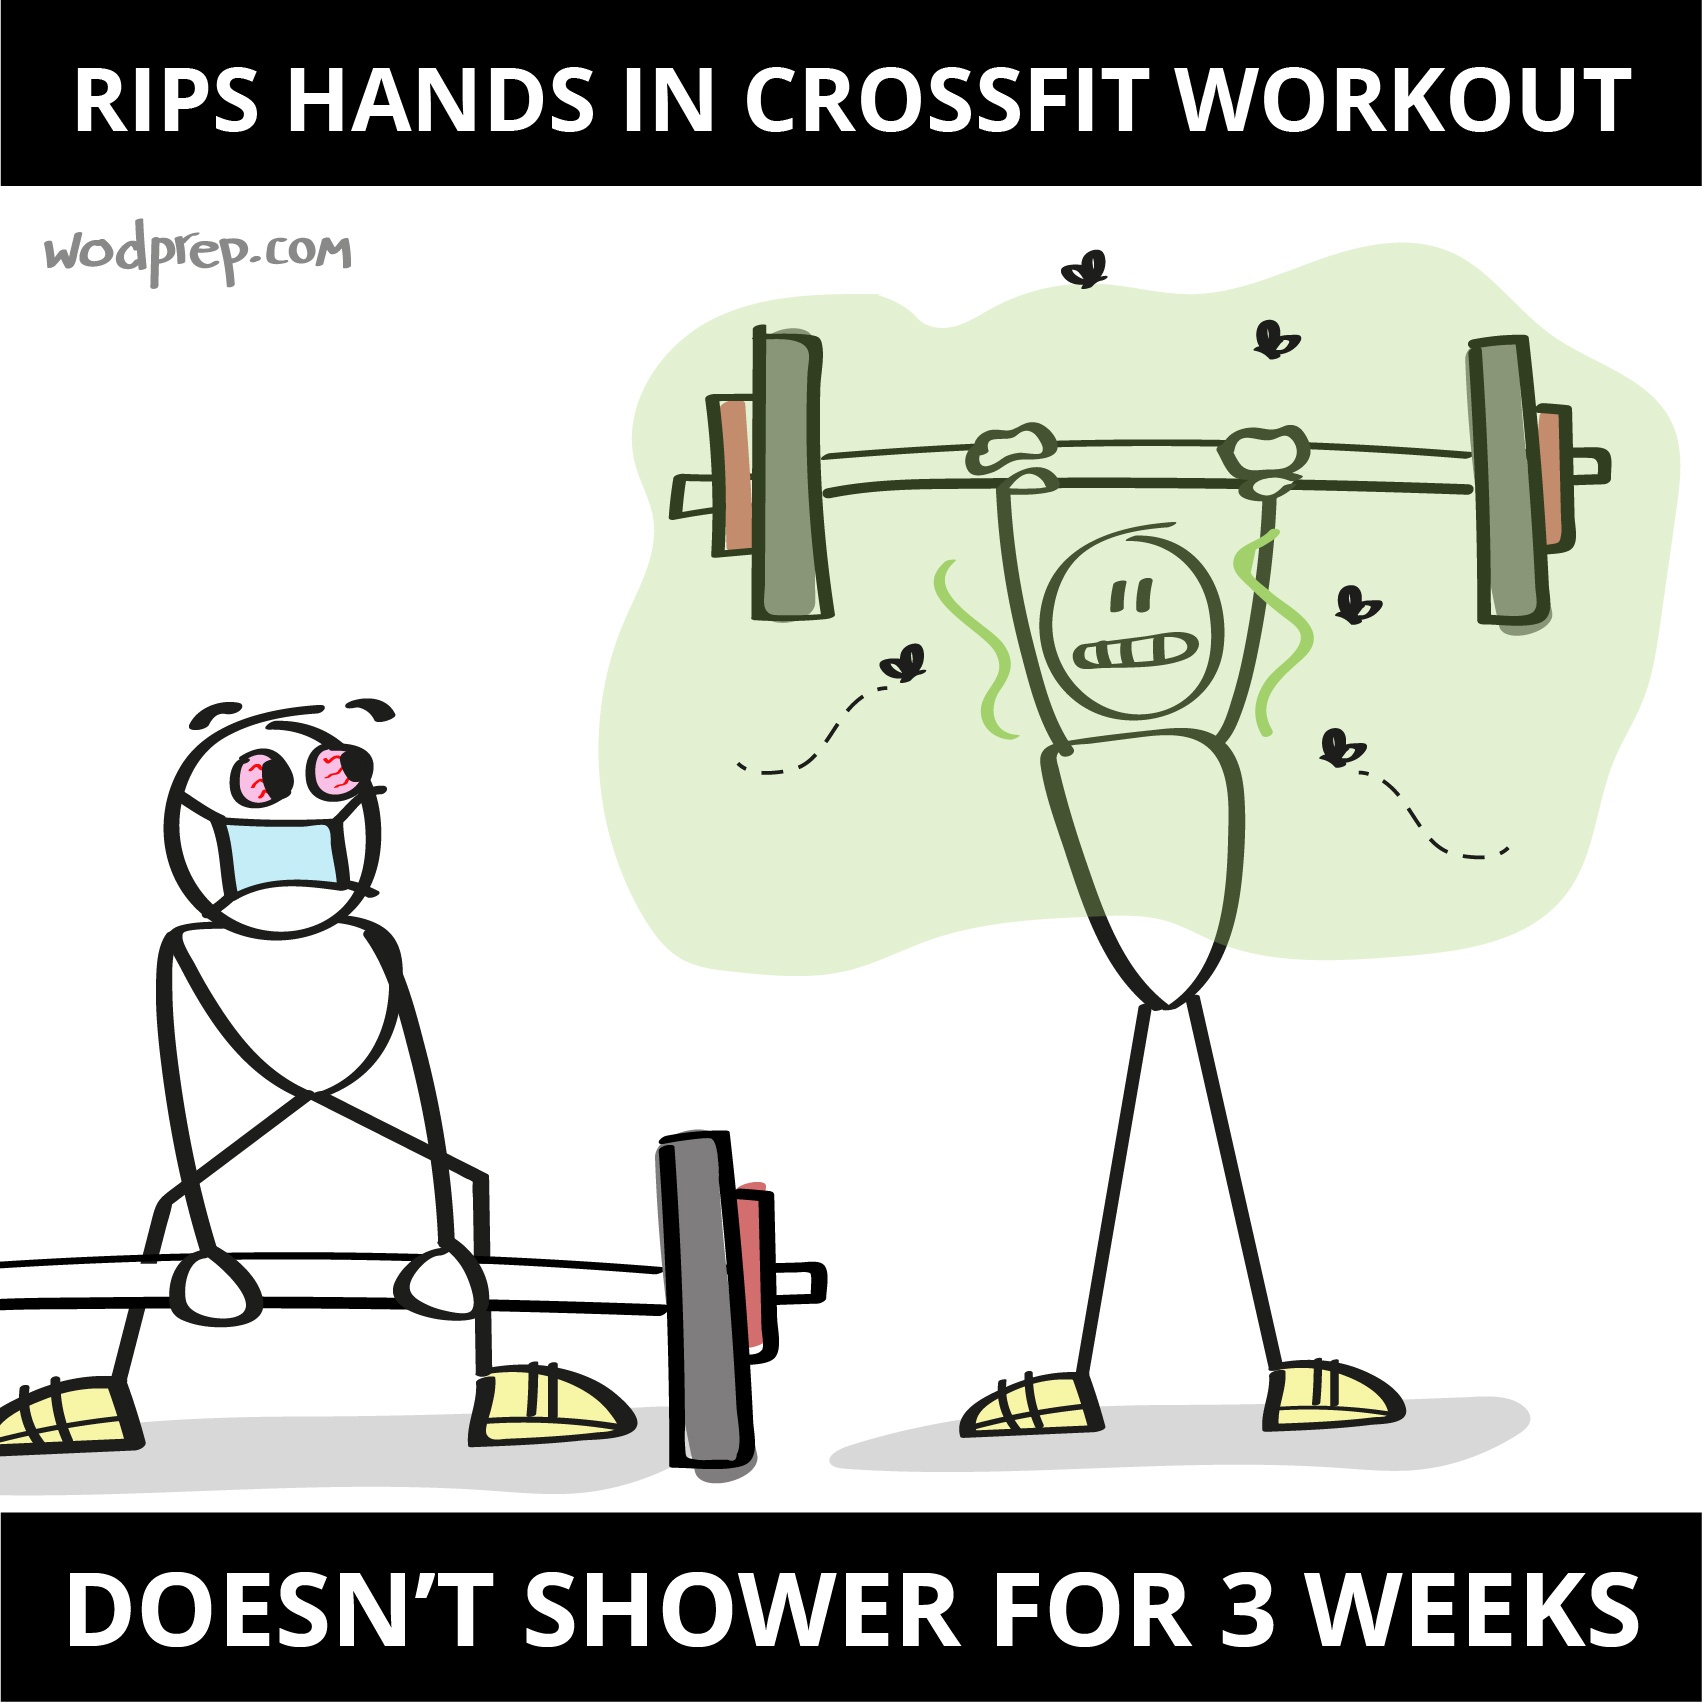
Hand care for CrossFit is important, yet it’s something that isn’t necessarily ‘coached’ within gyms, as it’s not a movement or a skill.
I’m here today to help change that. Moving forward, it’s time to start valuing your hand care just as much as your mobility/skill work.
Hand Care for CrossFit: Why Your Hands Rip
If you’re new to CrossFit, you may not even have any calluses yet.
Stick with it, and they will come. Calluses are essentially just thickened or hardened skin that builds up over time, on the areas of your hands that you use most often.
Let’s walk through a scenario in which a callus would become a problem. For kipping pull-ups, when you jump up onto the bar and start kipping, the callus can actually get ‘stuck’ between the pressure of your bodyweight and the bar. With enough friction over time, the callus ends up ripping off.
And as hundreds of thousands of athletes can attest to … ripped calluses HURT!
In some cases, you may just see blood blisters form instead of rips - which are also annoying and eventually lead to ripping.
How Do You Take Care Of Your Hands For CrossFit?
In order to avoid ripping, I recommend that you proactively shave your calluses off. This will help keep your hands smooth, so that there isn’t skin getting pinched, blistering, or tearing away.
CrossFit Hand Care: How To Shave Calluses
Let’s walk through the best, safest way to shave your calluses and keep those hands feeling fresh.
Hand Care Step 1: Soften your hands.
The best time to shave your hand calluses is right after a shower or bath, when they’ve recently been wet and your skin is still somewhat damp. If that’s not the case, just give your hands a good washing with warm water and soap prior to shaving.
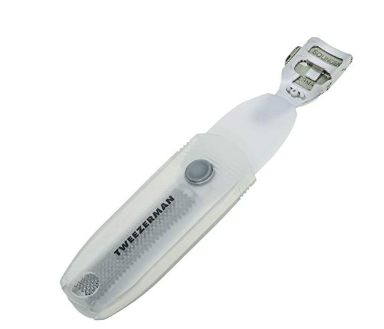
You’ll need a callus shaver - if you don’t own one, here’s a link to a solid, inexpensive one on Amazon that I recommend.
Hand Care Step 2: Callus Shaving Time
Take the callus shaver (it should have a fresh blade on it) and put pressure at the top of the callus that needs to be shaved down. Maintain pressure with the shaver, and slide across the entire area that you want to remove.
It shouldn’t hurt, you’re just removing the top layer of “dead” skin. Repeat a few times in different directions until you feel smoother skin underneath. Note: Don’t try to get rid of ALL the skin, we never want to expose “raw” skin. Take it one shave at a time, removing a small layer of skin with each pass of the blade. For reference, usually I will make 4-5 passes of the callus shaver on each major callus on my palm.
WARNING: You should not try shave calluses that feel sore or painful to the touch. Typically this means that there’s actually a small blister underneath the callus that you can’t see - and you’ll want to leave that alone. Wait to shave down your calluses until your hands aren’t sore. I always shave my calluses the evening I’ve had a full rest day. This usually means it’s been well over 24 hours since my last workout, and the calluses are ready to be removed.
Hand Care Step 3: Repeat
Shave down any calluses that you have on both of your hands, until you feel your skin is even and you’ve removed the rough skin. You might even find that some of your finger pads are callused as well. Feel free to shave those down too, but be aware - that skin typically isn’t quite as thick as the calluses we find on the palms of our hands. Usually I only need to do 1-2 light passes of the callus shaver on my finger pads, with much less pressure than is required for my palm calluses.
Hand Care For CrossFit Step 4: Lather Up
Run your fingers over the palm of your hands and check your work. If you feel any random rough spots, go ahead and shave a little more. Once you’re good to go, grab some lotion and lather up your hands. Rub it in until you get your hands once again feeling nice and soft to the touch.
Disclaimer: I don’t recommend putting lotion on right before going to the gym… that’s going to make hanging onto a barbell or pull-up bar very difficult. Following my rest day ritual, I usually shave my calluses and apply the lotion just before going to bed on Thursday night (again, after 24+ hours without working out).
Hand Care For CrossFit: Rip Maintenance
Already have a rip? It happens... and doesn’t have to be the end of the world.
Like we mentioned earlier… the worst part about ripping is showering and/or washing your hands afterwards. Yikes.
Something I recommend to help with rips is to put some vaseline over them before you get into the shower. This helps waterproof the area and it won’t sting nearly as much.
A secondary option would be to wear rubber gloves in the shower. Admittedly, I’ve never tried this one 🙂

There are a number of CrossFit hand care kits out there that claim to help with the healing of rips and tears, but I can’t say I’ve tried any of those either.
If you already have a rip on your hand, there are a few things you should do:
- Take a break. This doesn’t mean resting altogether. It just means not using your hands for anything that will re-rip them. A few days away from the pull-up bar and your hands should be healed.
- Keep them clean. When you have a rip, you have an exposed wound that will be exposed to all kinds of nasty things. Make sure you wash your hands regularly and use a topical antibiotic ointment to prevent infection.
- Keep them moisturized. In Colorado where I live, I tend to get very dry hands. When my hands get dry, especially with a rip, the skin will tend to crack and re-rip. With a nightly application of hand lotion, this seems to prevent dryness and cracking.
If your hand(s) ripped and really want to keep training normally, here’s what I recommend:
WOD & Done: This is a grip that I use whenever I have a rip that I want to try to protect so that I can continue working out. It’s a piece of elastic tape that’s designed for one-time-use - with three holes in it for your fingers to go into. The tape then sits on your hand and will protect any rips or blisters you might already have.
Please understand that I usually simply take a break from hand-intensive movements once I’m torn, but in a pinch (or in a competition), I’ll use WOD & Done to train through existing blisters.
CrossFit Hand Care Tips: Change Up Your Grip
If you find your hands ripping often, another thing to consider is to change the way that you grip the bar.
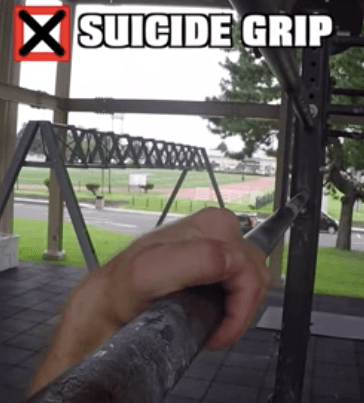
If you grip the bar up high - with your hands wrapped over the top in a ‘suicide grip’ - this means that the primary part of your hand that the bar is running across is the palm of your hand (which is the area that most easily rips and blisters).
Try adjusting your grip a bit lower so that your fingers are wrapping around the top of the bar, and the main area that is gripping are the pads right below your fingers. This will help to change where the friction is on your hand, and possibly result in less ripping.
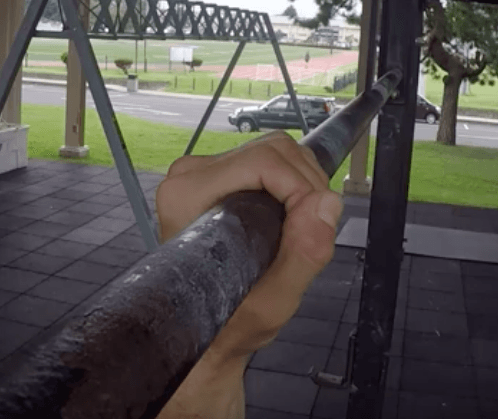
Fingers wrapped = less rips
CrossFit Hand Grips
Disclaimer: I’m not paid or sponsored by any of these brands, they are just personal recommendations based off my own experience testing them out. To be transparent, I am not a frequent user of grips and actually MUCH prefer bare hands.
- Victory Grips: These grips are designed in a way that actually allow athletes to grip the bar differently. This is because the grip folds, and wraps around the bar - locking you into the bar. This removes a ton of pressure off your forearms, allowing you to hang onto the bar longer.
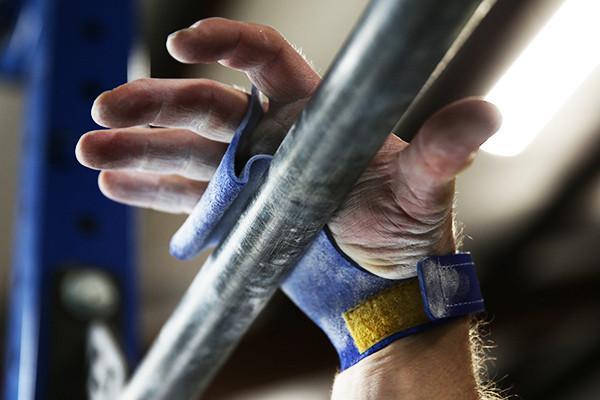
Victory Grips
- WOD Nation: This hand grip is slightly more affordable, and lays on your hand a bit differently than Victory Grips. It runs across the middle of your hand, and has two finger holes. Often times I won’t even put my fingers in the holes. Instead I just wrap the grip over the bar.
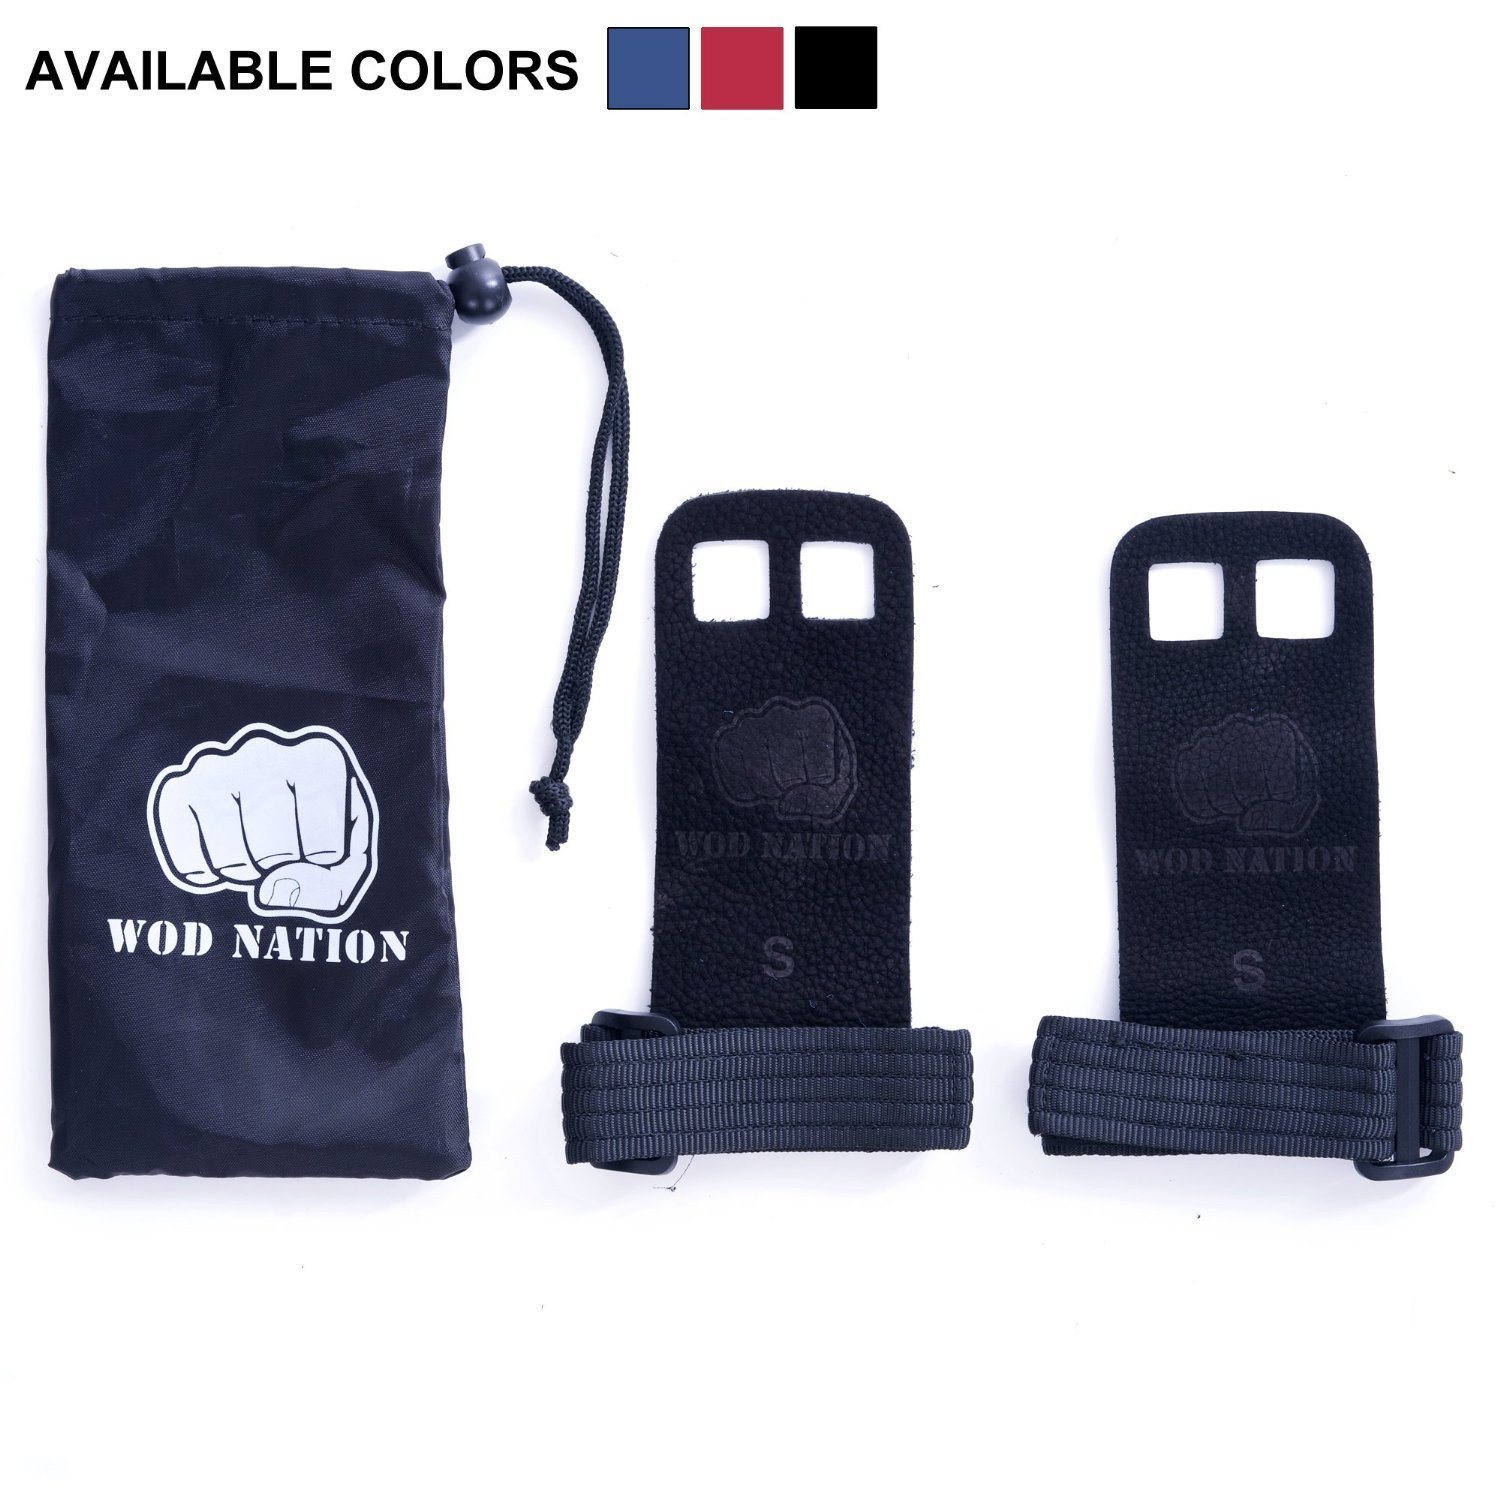
WOD Nation Grips
How Do I Toughen Up My Hands For CrossFit?
I get a lot of CrossFit beginners who come to me complaining about how their hands hurt.
Listen up... this is normal! Your hands WILL toughen up over time. As you continue to CrossFit, you’ll notice your hands change, and will likely see less ripping and tearing. The key is consistency - and of course, making sure that you’re taking time to take care of your hands by getting rid of those pesky calluses.
Parting Words On Hand Care For CrossFit
While this mindset might not align with common CrossFit culture… rips and tears are NOT a badge of honor.
If you’re walking around the gym showing off your rips and bragging to your friends about them, cut it out! Ripping your hands is a set back, not something to be proud of. It can take you out of the gym for a few days, or even weeks at a time. This will only cause you to miss workouts and prevents you from reaching your goals. The less rips you get, the better, I promise.
If you do tear... follow the steps I recommend above, do what you can to help it heal, and please… don’t post pictures of your bloody hands on social media.
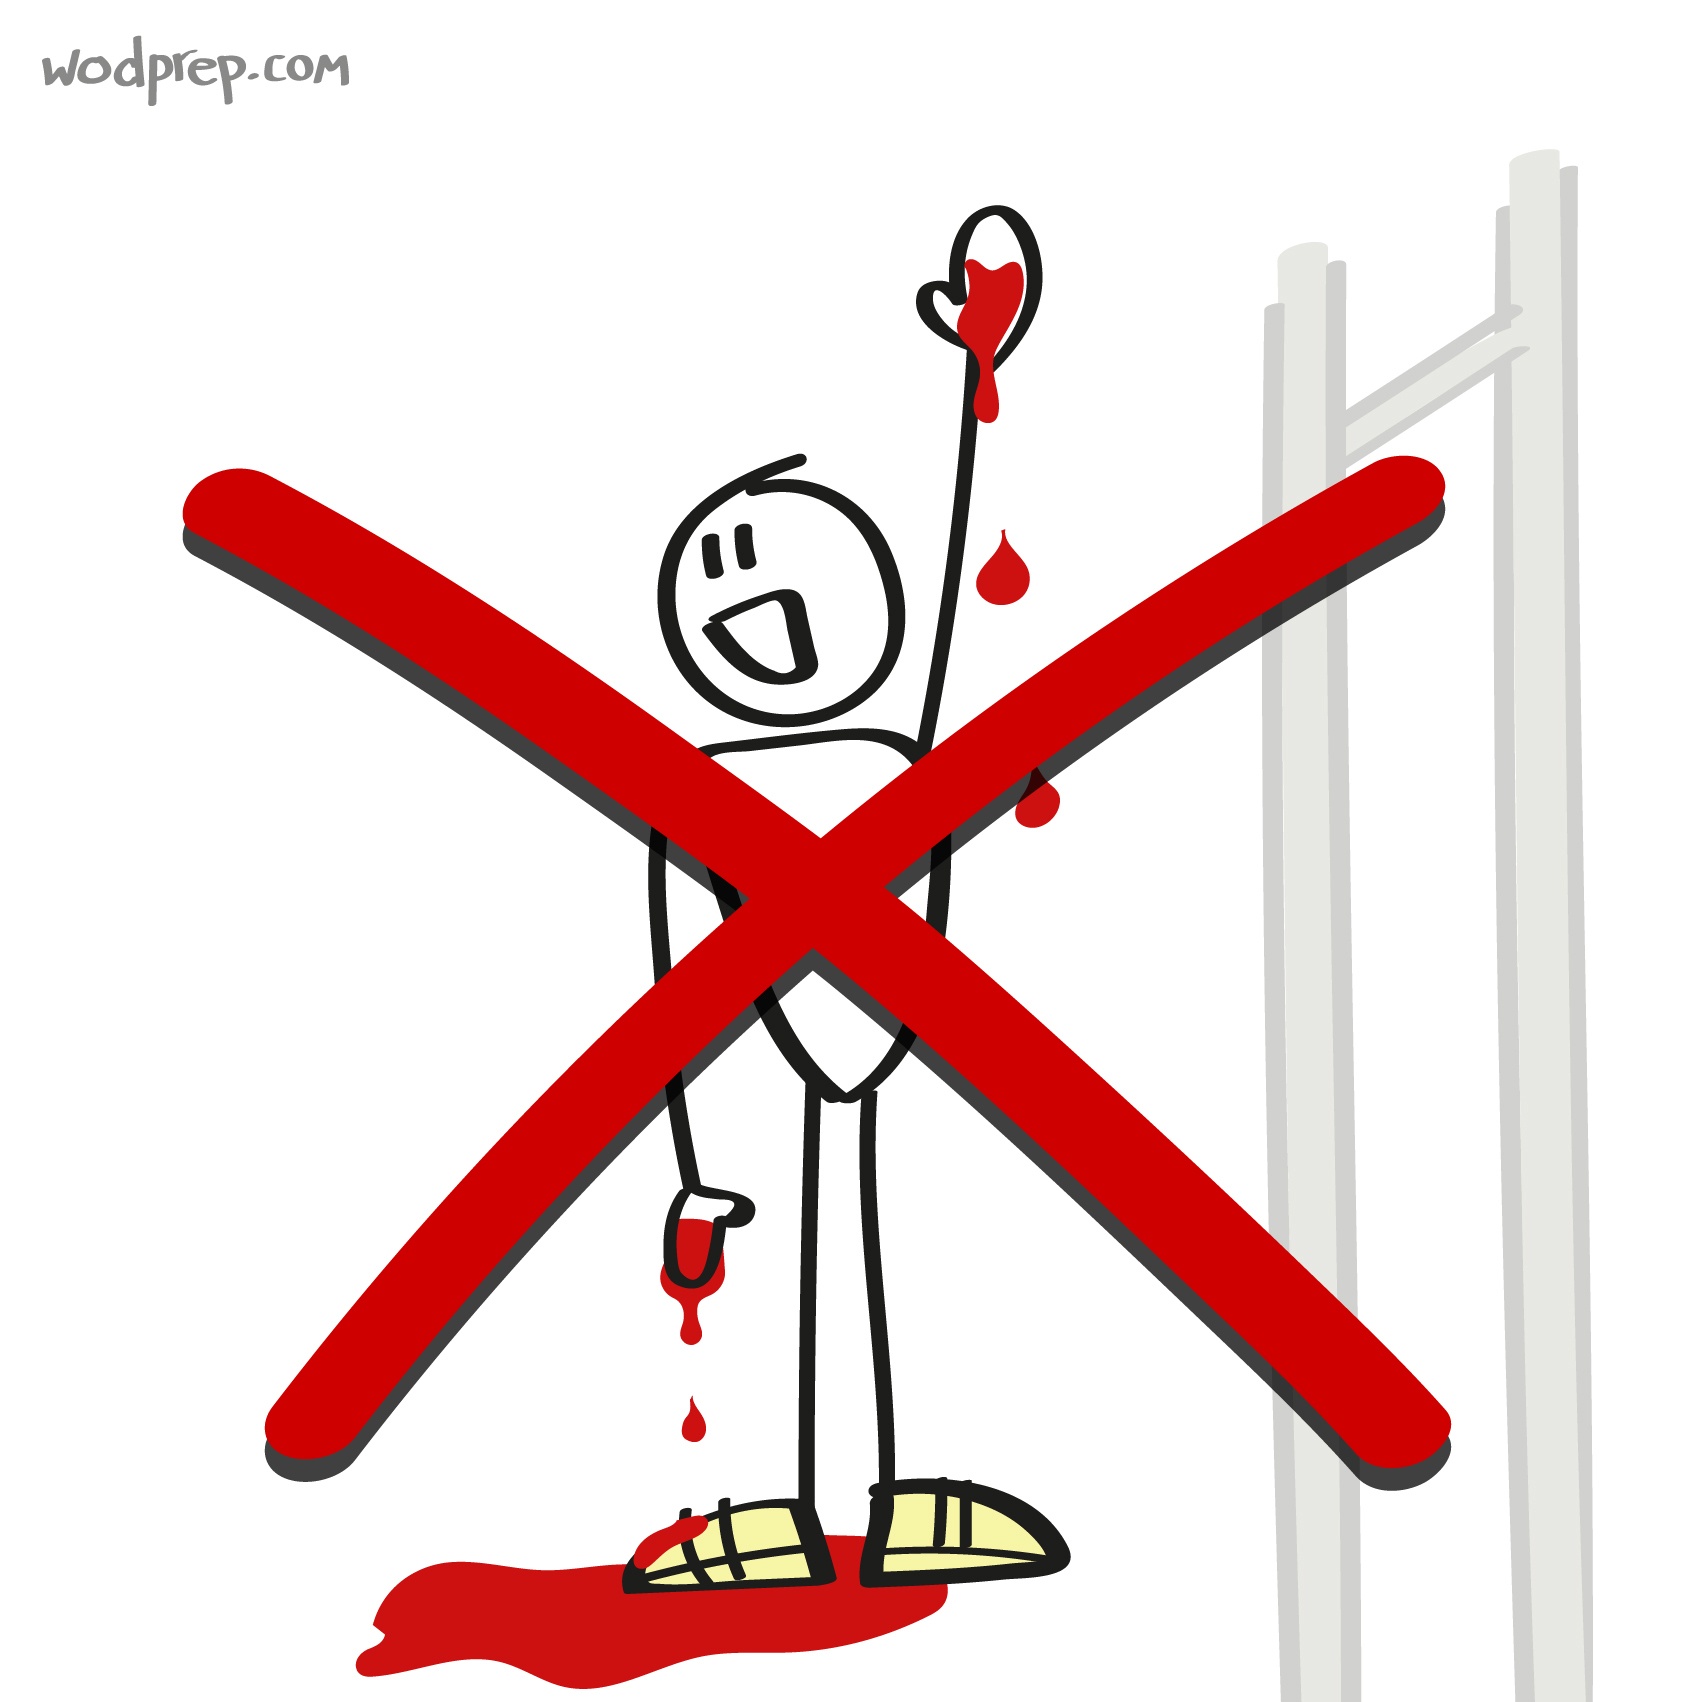
Not one wants to see that. Maybe back in 2009 it was cool, but not anymore. As a sport, we’ve outgrown this. Now it’s our job to be ambassadors of the CrossFit ethos… and the bloody hands don’t get your friends excited to try CrossFit for the first time 🙂
I hope this article helps to give you some ideas on how you can help prevent rips, tears and blisters as a CrossFit athlete. Hand care is important - share this article with a friend or gym mate who may need the tips!
WODprep is not affiliated with CrossFit, Inc nor is it endorsed by CrossFit, Inc or any of its subsidiaries.

[…] Rip your hands (duh) – make sure you're callous free ahead of time! […]