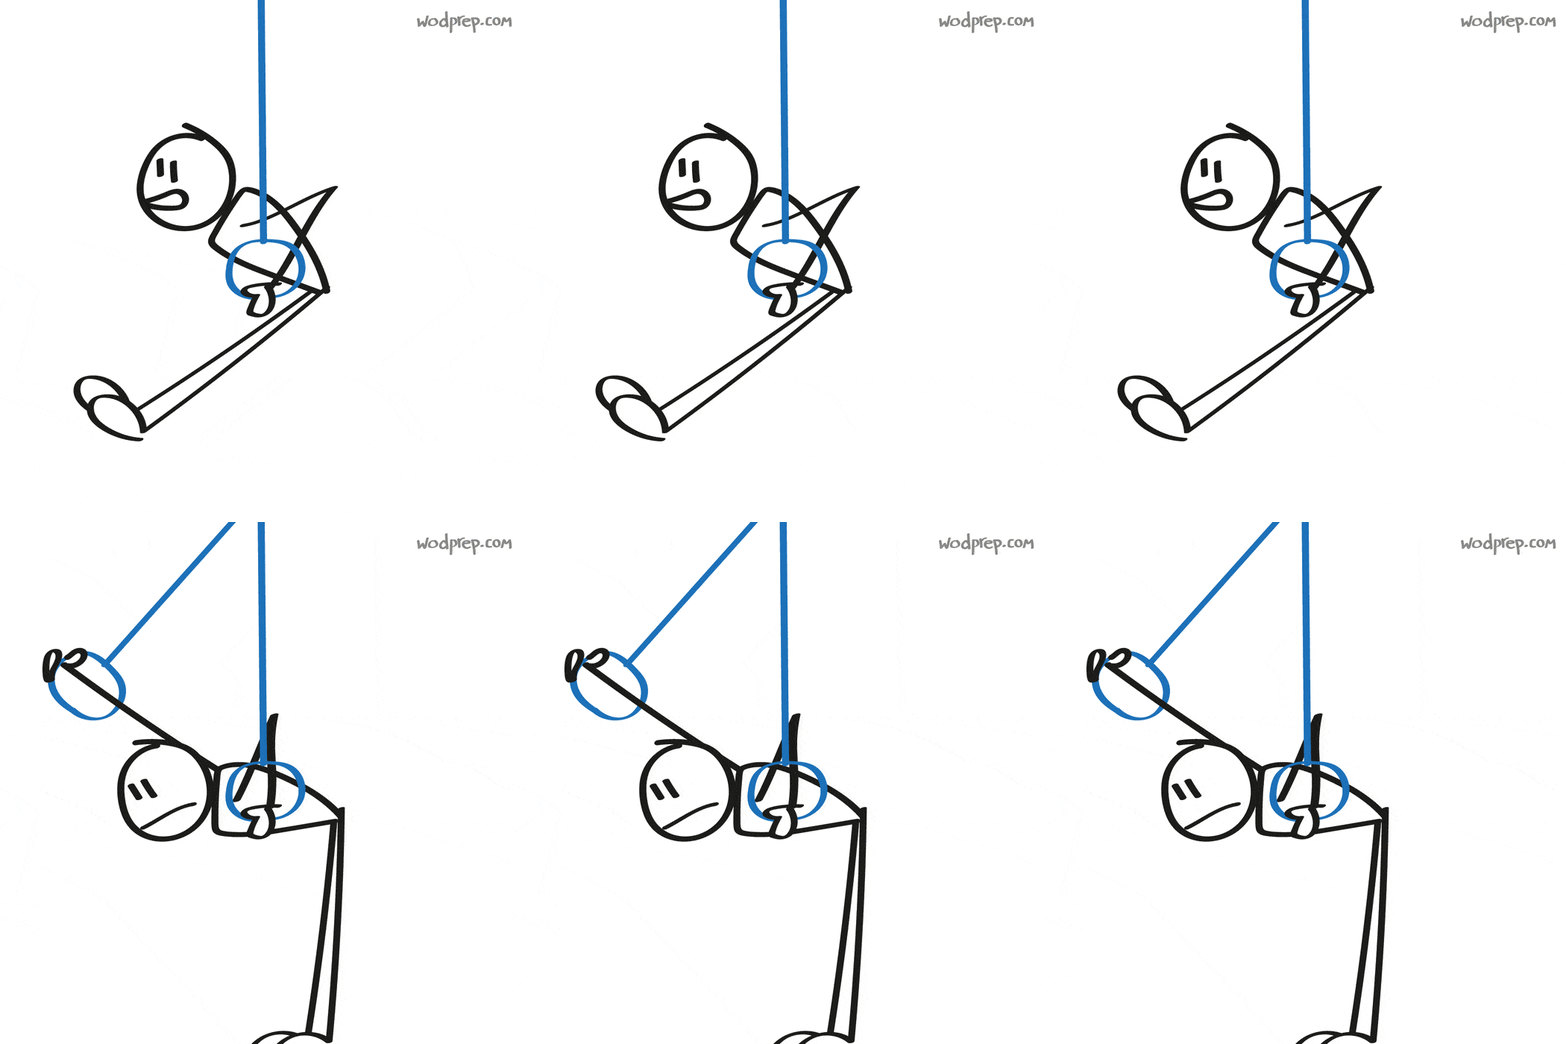
Take a movement to the gymnastic rings, and that movement becomes just a little bit more difficult. Case in point…
- Ring Push-ups vs. Hand Release Push-ups
- Ring Muscle Ups vs. Bar Muscle Ups
- Ring Dips vs. Bar Dips
The instability that comes with two moving rings is no joke. Which is why today, I’m breaking down ring dips for CrossFit. They’re a critical piece of the ring muscle up and and help build shoulder and chest strength... yet ring dips seem to be generally overlooked as a standalone movement.
Let’s walk through a 3-step ring dip progression, cover some scaling options, and how to safely move on to kipping ring dips (only when you have the necessary strength).
Ring Dips For Beginners: Ditch The Band
First and foremost - we won’t be using bands for any of these drills.
While a lot of CrossFit gyms and coaches are going to suggest to scale ring dips with bands until you’re strong enough to do them unassisted… that’s not my approach.
Why?
When I coach ring dips for beginners, I normally see that it’s the strength at the bottom of the ring dip that’s missing.The bottom of the ring dips is where you’re most unstable and the rings want to move around a lot.

If you’re using a band to help you get out of the bottom of a ring dip, it can quickly turn into a crutch. Instead, check out the following 3 ring dip drills (that don’t involve a band).
Ring Dips For CrossFit: 3 Steps To Follow
Let’s walk through a few drills that you can follow to help build the strength you need to be able to Rx strict ring dips. Ready?
Step 1: Ring Supports
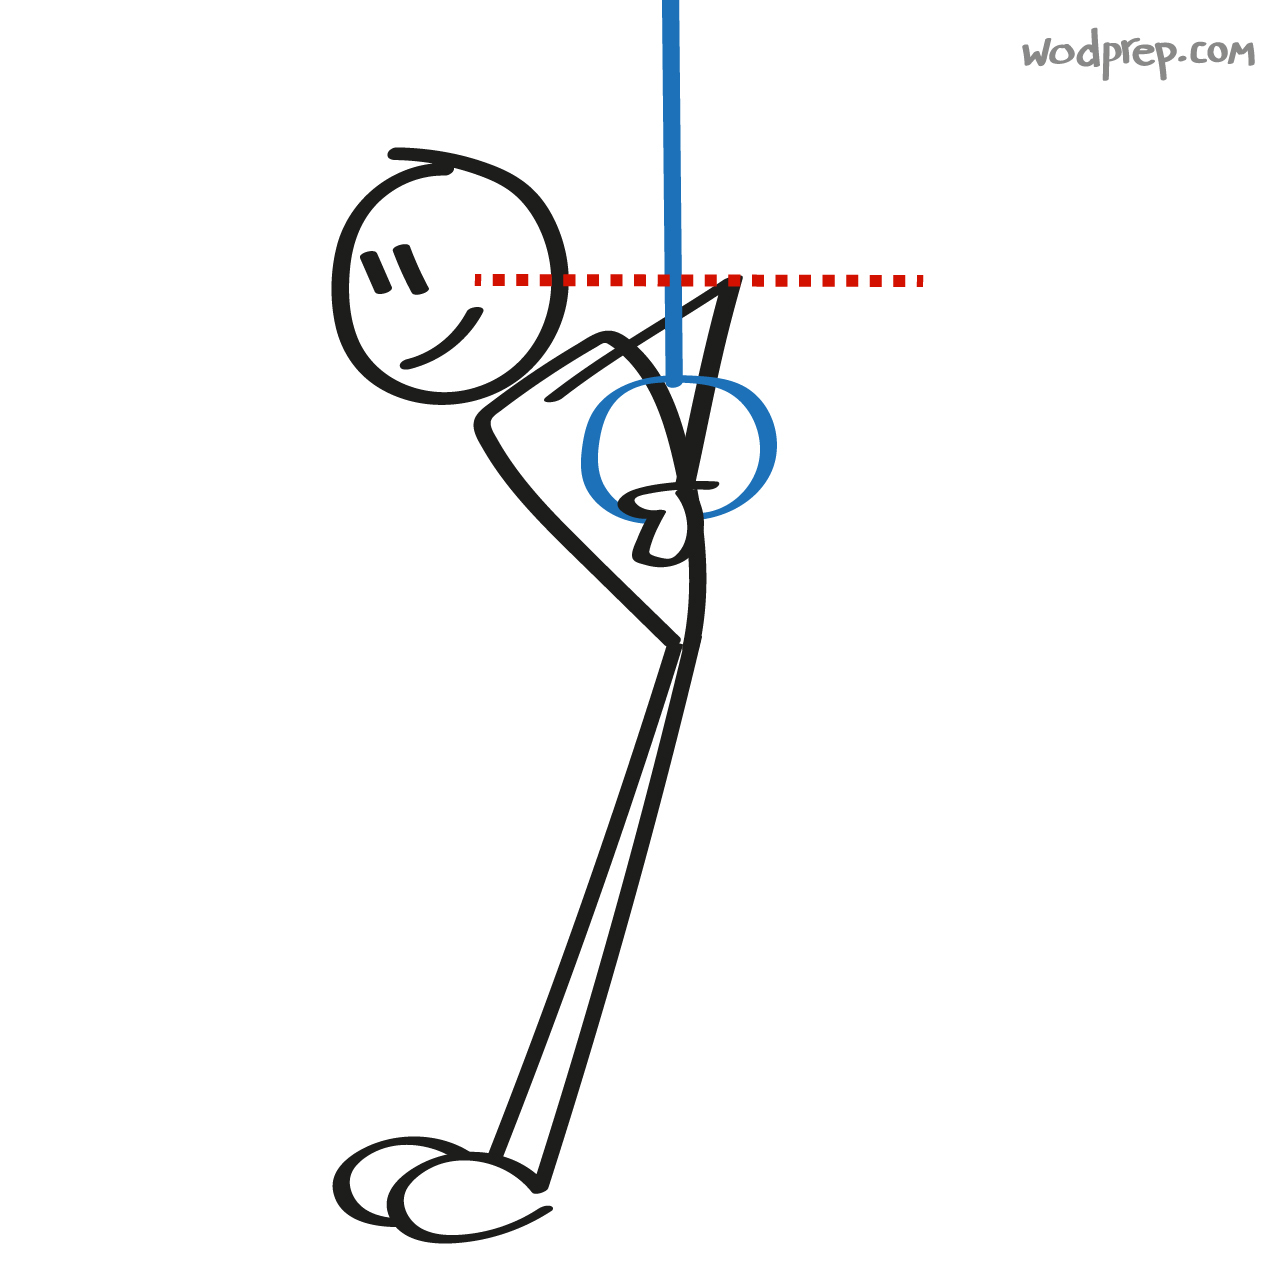
First, double check that your rings are set a height that give you a good safety net. Don’t set the rings too high - your feet should be able to touch the ground when at the bottom of the dip. If you need to bail out of a rep or support yourself at the bottom, your feet need something to rest on. A box is a good option too.
This drill is all about establishing support. Once your rings are set up, stand in between them with a good grip, and hoist yourself into a locked out position. Hold yourself at the top - with your arms locked out and externally rotated - in a stable position. This means that the rings shouldn’t be shaking, and you’re holding a hollow body position with toes pointed slightly in front of you.
Ring Dips Tip:
“Externally rotated” means that the chest should be open, and elbow creases are rotated to face forward - which will also rotate the rings slightly out.

Step 2: Ring Dip Negatives
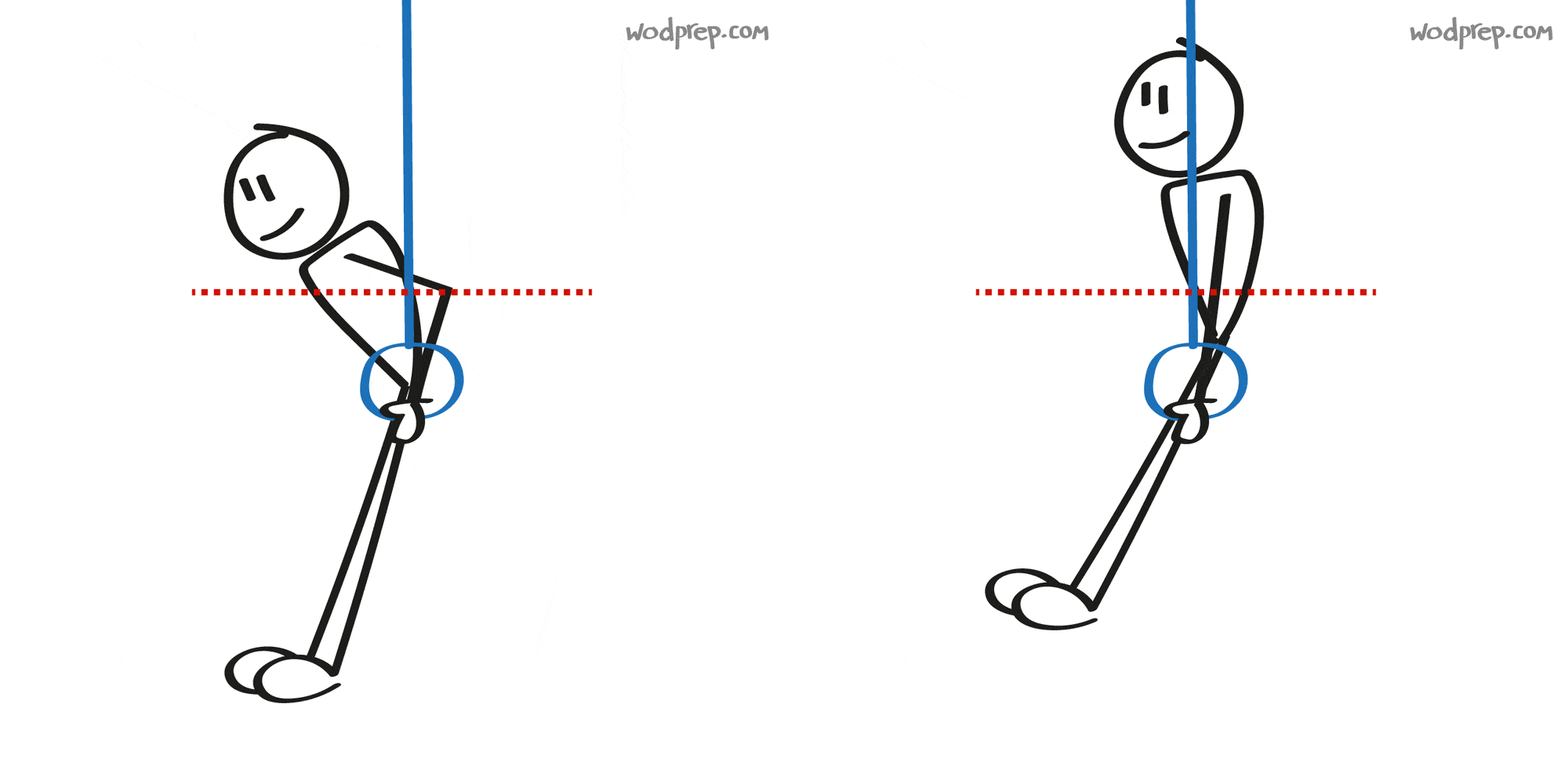
Step 2 is going to work off of Step 1 - so once you’ve learned to support yourself over the rings, it’s time to add some movement. For negatives, hop back into a ring support hold. From here, slowly (keyword - slowly) lower yourself down in a controlled manner, as low as you can possibly go without feeling discomfort or losing control.
In the beginning, you might not make it to “full depth”, but that is ultimately your goal - stay controlled from top to bottom into full depth.

Full depth = below parallel
This will ensure that your ring dip is deep enough.
Ring Dip Note:
You should be controlling the descent all the way to full-depth - do not just hit mid-way and then collapse down to the bottom. This isn’t building all of the needed strength for a ring dip for CrossFit, and it’s also not good for your shoulders. You can adjust your safety net by adding a box under your feet and/or lowering the rings.
Part 3: Partial Ring Dips
This drill is mimicking a ring dip, without the full range of motion
Once again, get above the rings locked out (ring support). This time, instead of lowering down all the way, only lower down part of the way - and then push yourself back up and lock out. You might find that your rings want to wobble like crazy at first, and that’s okay. The more your practice, the more stable you’ll become.

This drill helps to train support, still gives you a bit of negative training, and also works on the press portion of the ring dip.
The goal when working on partial ring dips for CrossFit is to work up to being comfortable with a bigger and bigger range of motion. When you first start - your partial ring dip may only be a few inches, and that’s fine! As you build strength and stability, push yourself to lower further and further, and before you know it you’ll be hitting full range of motion ring dips.
Work on the above three drills consistently, a few times a week, and you’re on your way to developing a strict ring dip!
More of a visual learner? Here’s a video breaking down the three drills we just walked through.
Like I mentioned earlier, strict ring dips are the foundation of a much more difficult gymnastics movement - the ring muscle up. Once you can do a few strict pull-ups, chest to bar pull-ups, and strict ring dips… you’re ready to start working on RMU’s next!
Kipping Ring Dips vs. Strict
Listen up.
I see a lot of athletes doing kipping ring dips in CrossFit gyms - especially throughout Metcons. While they’re certainly a quicker, more efficient way to do the movement, you MUST make sure you have the strength built up to do them before moving on from strict ring dips.
Don’t move on to performing (or reading about) kipping ring dips until you’re comfortable with doing several strict ring dips in a row.
Breaking down Kipping Ring Dips for CrossFit
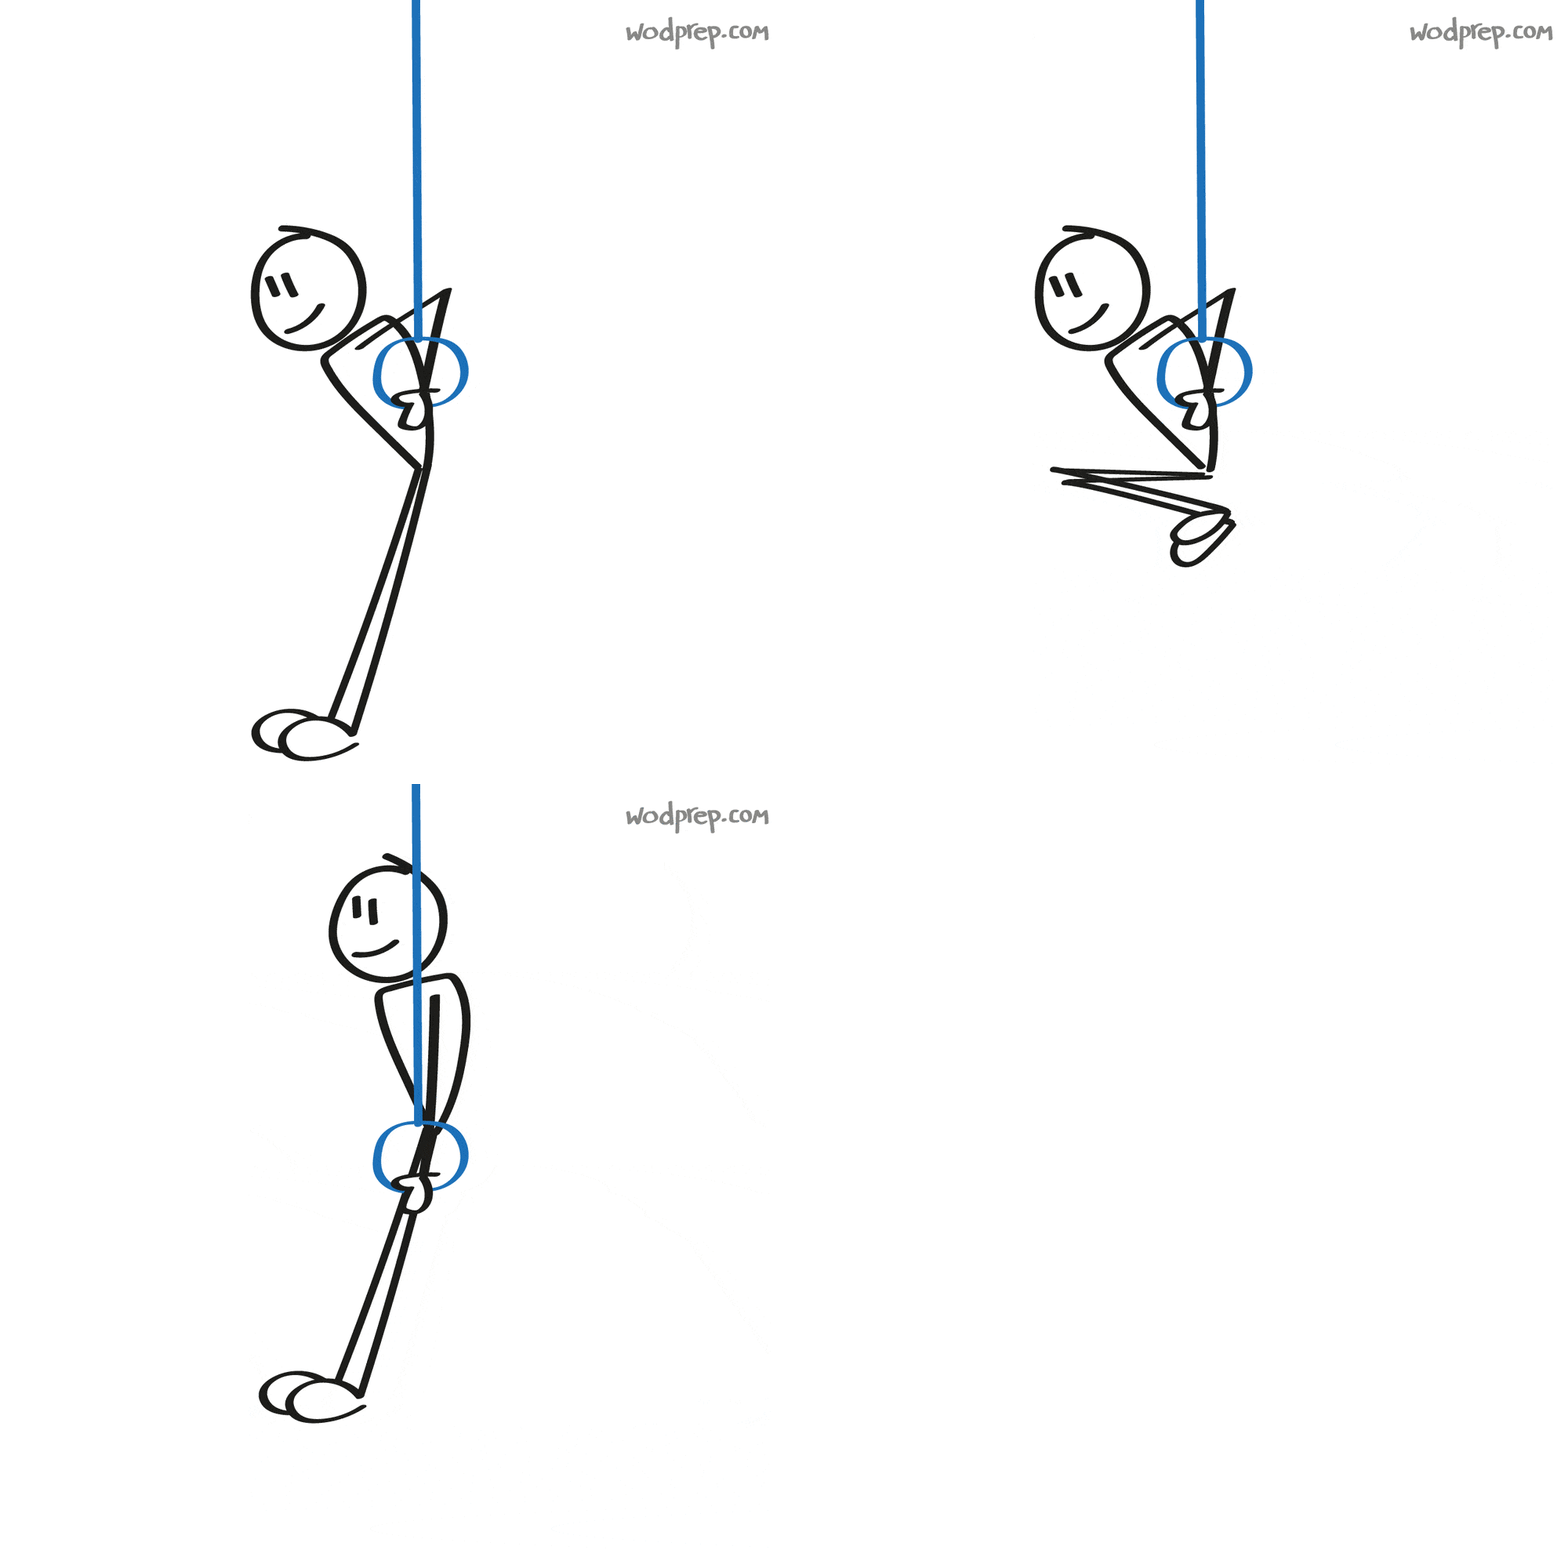
When working on kipping ring dips, you want to imagine that your body is a slinky or a spring. If you scrunch up the bottom part, the top part will naturally then want to spring upward.
With your legs extended below you, snap your feet and knees up, almost like you are trying to “kick your own butt” and “knee yourself in the gut” at the same time. This helps propel your torso upwards, allowing you to finish with your arm strength and lock out on top of the rings.

It can be tricky to master, but once you get the timing right and have the requisite chest/tricep/shoulder strength, it can make ring dips WAY easier - allowing you to spring to lockout without any issues.
Kipping Ring Dips: Common Mistakes...
Lack of strength:
If you can’t do any strict ring dips, then don’t mess with kipping! It is a recipe for overloading, and maybe even tearing your pectoral muscle! Don’t mess with kipping unless you are already strong enough to do multiple strict ring dips.
Bad timing:
If you “kick your own butt” and “knee yourself in the gut”, but forget to press up at the PERFECT time, you’ll completely miss the momentum and won’t go anywhere. With practice, you will be able to get the timing right.
Not finishing the lockout at the top of the ring dip:
DO NOT be the loser in the gym that does a bunch of kipping ring dips, but doesn’t lock out a single one. The hardest part of a ring dip is getting your elbows completely extended and stable. Don’t forget to lock out with a slight pause at the top of each and every rep. Sure, you might not move as fast, but you will develop good habits.
No bro reps, bro.
Hopefully this article helped you understand ring dips for CrossFit just a little bit better, and gave you a few drills to work on if you’re not there yet! As always, feel free to comment below with any questions or thoughts, we love hearing from our athletes.
Disclaimer: WODprep is not associated with CrossFit® in any way and opinions are separate from the CrossFit® brand.
