
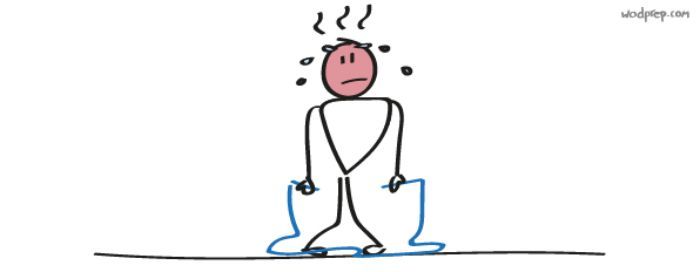
Whether you’re brand new to CrossFit or have been training for a while, we can all agree on one thing: double unders are not an easy skill to learn, and they are REALLY frustrating.
Before I dive in, if you would like a super easy step by step guide on how you can crush double unders in the fastest possible time, click here to download it for FREE.
Let’s take a look at a few important keys for mastering double unders:
- Correct jump height.
- Spinning the rope in a controlled manner.
- Keeping your arms down by your side.
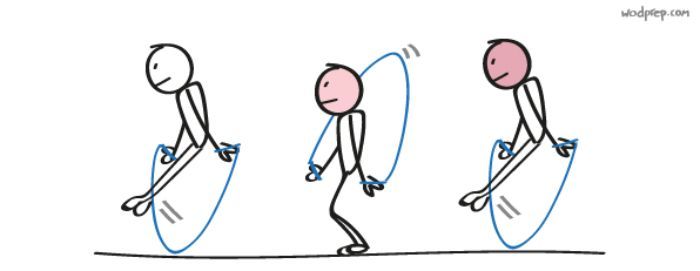
Yet the key is being able to do all three at once, correctly. A common mistake I see athletes make is biting off more than they can chew when it comes to the learning process. They walk into the gym, grab a jump rope and just start swinging it around, expecting to somehow magically just start stringing double unders together.
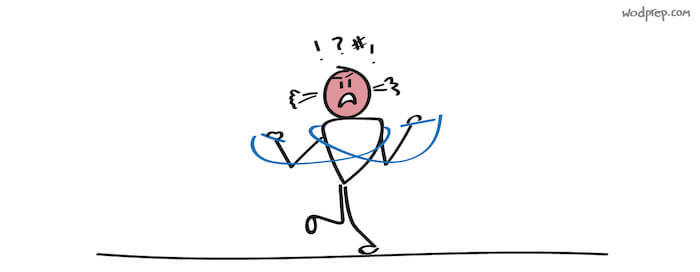
This is exactly what you shouldn’t be doing. Not only are you going to frustrate yourself, you also might start developing bad habits (donkey kicking, single-double “hell”, wide arms, etc).
Learning double unders doesn’t have to be rocket science, but there still needs to be strategy and intention behind how to learn them. Let’s break down a double under progression, and walk through how to learn them step-by-step.
Double Unders Progression: Breaking It Down Into Bite-Sized Goals
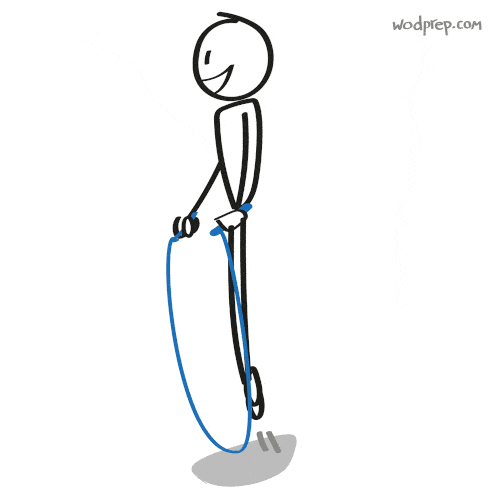
Step 1: Single unders.
As a prerequisite, you have to first know how to do single unders. Practice them until you’re comfortable, and are able to do roughly 50 unbroken single unders. This lets you know that you have the stamina needed to then move on to learning double unders.
Quick note: Single unders are when the rope passes under your feet just once, while doing a normal-height jump. In other words, it’s just like the normal jump roping that you may have learned to do in gym class. It’s very important that you are not pausing between spins, or allowing your heel to hit the ground. You need to rebound immediately to train the same jumping patterns that you’ll be using for double unders.
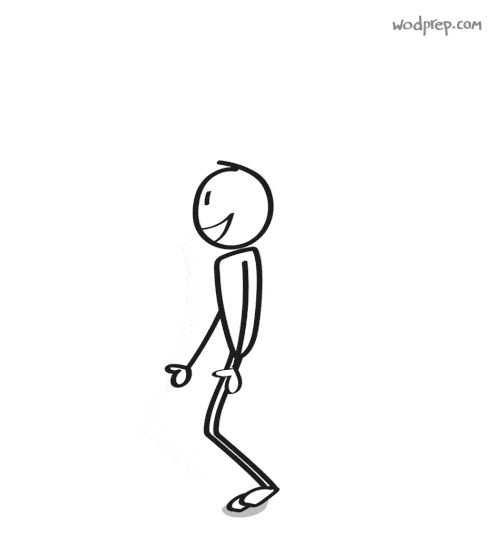
Step 2: Power jumping.
A key to mastering double under timing is learning the correct kind of jump. While this may seem obvious, it’s important. So step 2 is to do just that: jump. No rope, just your body.
Practice what I like to call the ‘power jump’ which is a higher jump than a regular single under jump. Power jumping also involves learning the ability to absorb the landing correctly, so that you can then easily rebound into the next jump.
Practice power jumps to get familiar and comfortable with the motion of not pausing between each jump. Just like a pogo stick, you should spring right back up after landing without any hesitation.
Step 3: One double under.
Start with just one. This step is way too often overlooked. Athletes pick up their jump ropes and want to immediately start stringing double unders together… which is easier said than done. So instead, keep it simple and focus on getting that FIRST double under, and nothing past that.
Make sure that you’re using a rope that you’re familiar with. Do a few warm up jumps first, using "big singles".
"Big singles":
This is when you’re actually jumping with a higher double under jump, but doing big, slow single unders - only spinning the rope one time under your feet.
After a few big singles, take a shot at your first double under attempt. Jump as high as you can, while spinning your rope quickly. Once you’re comfortable with hitting that first double under, work towards being able to hit first reps consistently. This does NOT mean stringing them together (yet), but instead just training your body for what it needs to do to hit the first rep of a double under.
Step 4: One double under, with more spins.
Alright, so you can hit one double under at this point. Now it’s time to work on jumping momentum. Do a single double under, and then try to keep the rope spinning. The goal here is to allow the rope to keep spinning so that you can also keep your momentum, and continue jumping.
This will help you to move from jumping in an uncontrolled manner, to being able to land and control your rebound jump, all while the rope continues to spin. Ultimately, you’ll be able to do five singles, one double, five singles, one double, etc.
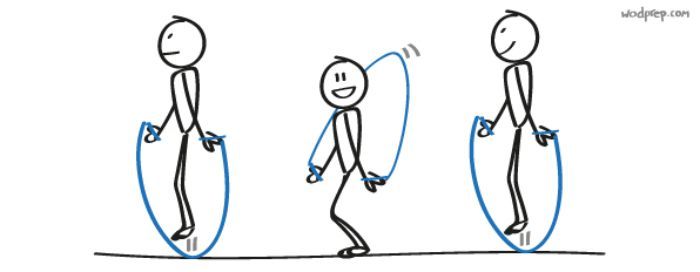
Step 5: Single under - double under.
At this point you should be able to understand what the rope feels like to keep spinning in between your double under reps. With that in mind, let’s take a step closer to unbroken double unders. Work on minimizing the amount of singles between each double under - so instead of 5+ singles in between each double under like the step 4, your goal in this step is to find the rhythm of ‘single-double, single-double, single-double, etc.’
Being able to move into this cadence comfortably means that you have the jump endurance, rope control, and jump height to start stringing double unders together. Woohoo!
Note: MANY people get stuck here. It’s easy to think that this is “good enough”. Please do not stay here! The goal is unbroken double unders, so you need to make sure you continue with the double under progression all the way to the grand finale!
Step 6: Unbroken double unders.
It’s time to take a stab at unbroken double unders. I reference this often when coaching double unders to beginners: “You have to walk before you can run.”
In other words, working on unbroken double unders does NOT mean that you should immediately shoot for 10 in a row. Keep it simple, and instead start with a goal of two unbroken. Just two! You’ll quickly realize that there’s a big difference between landing and rebounding back into your second unbroken rep, compared to when you were rebounding during the single-double drill.
The biggest difference between the two is your landing position between the jumps. If you’re not landing normally (ie: feet flat, off balance, jumping forward/backward, etc.) you are going to struggle to immediately jump back up to the proper height for the second double under rep (and will most likely end up tripping on your rope).
Frequent causes of landing weird are donkey kicking, or pike jumping. We actually have a whole article on how to fix your jumping here.
Focus on jumping with control and composure. Control your landing, keep your toes pointed down and calves engaged the whole time….and then repeat. Keep in mind, this is a huge transition, so may take awhile to finally click. Once you can string two double unders together, you’ve taken the BIGGEST leap forward. You are free from “single-double hell” that tends to keep people trapped. From here, keep working upwards rep by rep. Shoot for three, four, then five - and keep building reps on top of each other.
Step 7: 50 unbroken, every time.
This is the final step in learning double unders - and one that can take a lot of practice and patience to finally get to. The final building block is to simply keep working on bigger and bigger sets of unbroken double unders. In my opinion, you’ve “made it” when you can always hit 50 reps unbroken - matter what.
It may be harder than you think to hold your form and control your breathing for bigger sets… but keep practicing. Continue to build upwards following the above outlined process - without jumping ahead and skipping steps. Before long, your double unders technique will be seamless and 50 reps will feel like a rest!
In other words, follow the path to mastery and before long, you’ll start to see major improvements in your double under game.
If you're looking for a more visual representation of how to break down double unders, check out this video:
More Double Under Tips For Beginners
Outside of following the step by step process for how to learn double unders, here are a few other pointers to help you out:
- Get your own jump rope! There are plenty out there to choose from - and for another great read, we even have a whole article on how to pick the right one. If you’re just using random jump ropes from your gym, it’s going to make the process much harder by not consistently using the same rope length, handles, etc. In order to train your body correctly, use the same rope, every time.

- While we’re discussing jump ropes, I also recommend that you try a heavier cable rope. These are best for beginners. Smaller cables are going to spin more quickly, making it difficult to control the rope and the entire movement.
- Listen to the “click click” of your rope. It may sound weird weird, but as you are working through double under drills, try to listen to the rope clicking on the ground with each spin. It will help you find the right rhythm.
- Film doesn’t lie. If you don’t have a coach helping you out, or have no idea what you are doing wrong… set up your phone, and take a quick video. Odds are, it will reveal things you are doing that weren’t even on your radar!
Double Under Drills We Love
I already referenced a few ideas above, but let’s take a look at three of my all-time favorite double under drills for beginners:
Penguin claps:
You don’t need a rope for this one. Start by doing the power jumps mentioned earlier (big jumps) and then use your hands to pat the sides of your hips, twice while you’re in the air. This helps you learn the cadence needed for when you do start using your rope.Big Singles:
Consistently practicing big singles is going to help set up your jump correctly for when you move into double unders. You should basically be power jumping with your rope in hand, but only passing the rope under your feet once. Keep in mind that this is not just a single under, as you should be jumping higher than normal single unders.
5x Big Singles, 1x Double:
Once you’ve got the hang of the big singles drill, try throwing a double under into the sequence. I’ve found the best pattern to be 5 big singles, then 1 double under, then back to 5 big singles, and so on. Try counting to yourself outloud if that helps you with your double under timing.
Final thoughts about Double Unders For Beginners...
At this point, you should have plenty of ideas on how to start tackling double unders. Don’t let them intimidate you; keep it simple, and start with the basics. Work through the 7 steps outlined above, and before you know it, you’ll be stringing together those double unders with ease!
If you loved this article and found it to be helpful, then you will also benefit from our free “ultimate guide to double unders” mini-course:
Want FREE ACCESS to our ULTIMATE GUIDE to Double Unders?
Have more questions about double unders? Not sure if you’re doing something right or wrong? Comment below, and one of our WODprep coaches will get back to you!
[…] Want some tips for double unders before class, click here. […]