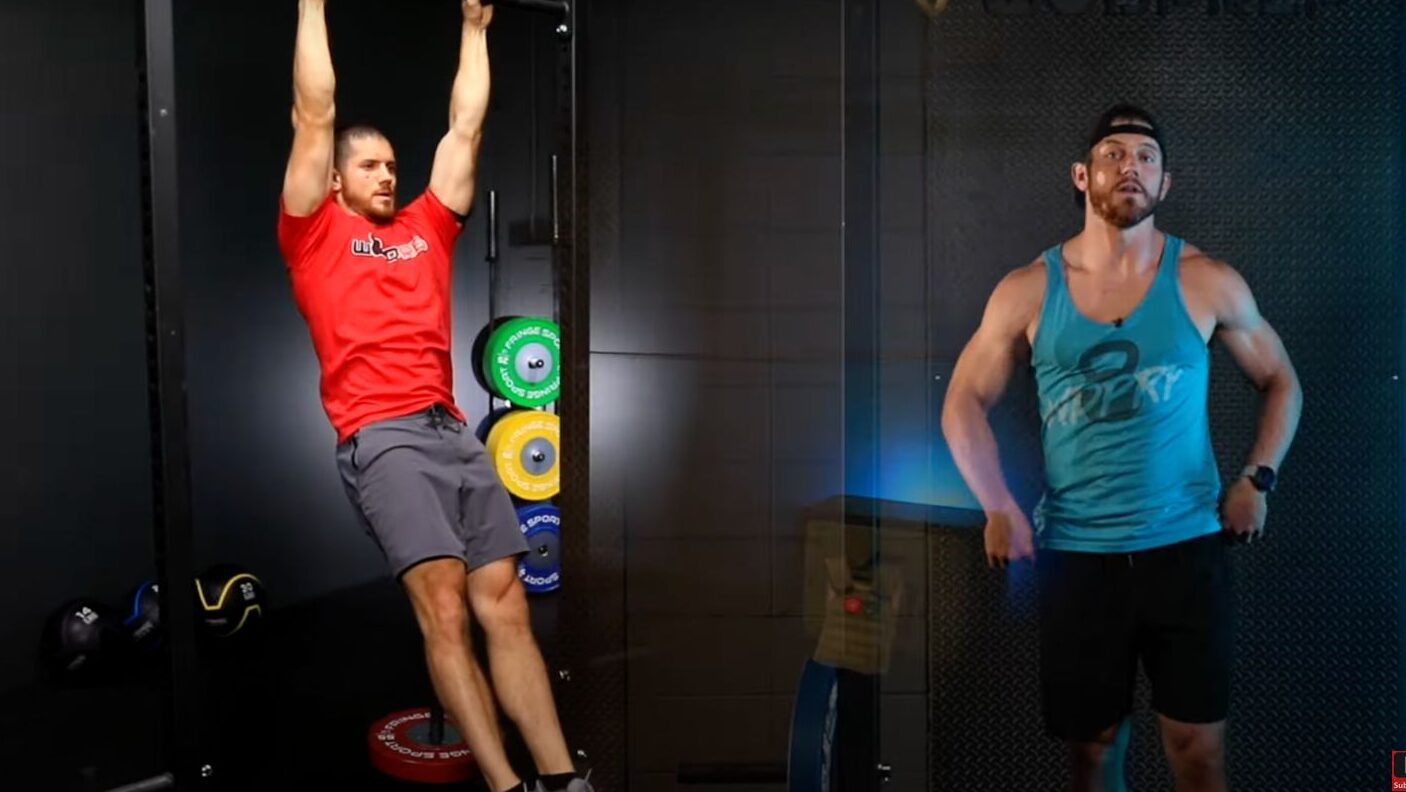
Today, I'm excited to share a quick and effective progression to master the elusive Toes To Bar movement.
If you've been trying to nail this skill, you've come to the right place. We'll break it down step by step, so let's get started!
Step One:
Hollow & Arch Positions
To begin our journey to Toes To Bar greatness, we must first master the Hollow and Arch positions. The Hollow position involves keeping your feet in front of you, core tight, and arms slightly in front.
On the other hand, the Arch position is the opposite, with hands and feet slightly behind you and a tight core without losing midline stabilization. Practice transitioning smoothly between these two positions on the bar. Swing back and forth, going from Arch to Hollow and back again. This will help you gain momentum and upward trajectory.
Step Two:
Activate Your Lats
Now that you've practiced the Hollow and Arch transitions, it's time to engage those lats. When moving from the Arch to the Hollow position, make a conscious effort to activate your lats. This will allow you to hinge yourself up and closer to the bar, increasing your elevation and bringing your knees higher.

Step Three:
Add a Knee Tuck
Moving on, we'll incorporate a knee tuck into the Arch and Hollow positions. As you swing, focus on lifting your knees towards your chest while maintaining the tension in your core. The knee tuck will bring your feet closer to the bar, helping you build towards the full Toes To Bar movement.
Step Four:
The Tuck & Flick Method
Now, we're getting closer to mastering the Toes To Bar! In this step, we'll introduce the "tuck and flick" method. As you swing, go from Arch to Hollow to a knee tuck, and just before reaching the peak of your swing, execute a quick and controlled flick of your toes towards the bar. Don't worry if you can't touch the bar with your toes' tips; aim for any part of your foot to make contact.
Step Five:
Achieve Unbroken Toes To Bar
You've made it this far, and now it's time to string multiple Toes To Bar together! After successfully flicking your toes to the bar, actively drive yourself back into the Arch position.
Many people lose momentum by neglecting this crucial step. So, remember to push your head through your shoulders, pulling your feet behind you, and maintain that aggressive Arch position.
To Summarize
There you have it, a simplified version of the Kipping Toes To Bar for CrossFit.
If you're hungry for more and want to dive deeper into mastering Toes To Bar, I've got you covered with a free training guide at wodprep.com/ttb.
This guide is packed with even more resources to help you perfect the Toes To Bar movement once and for all!
