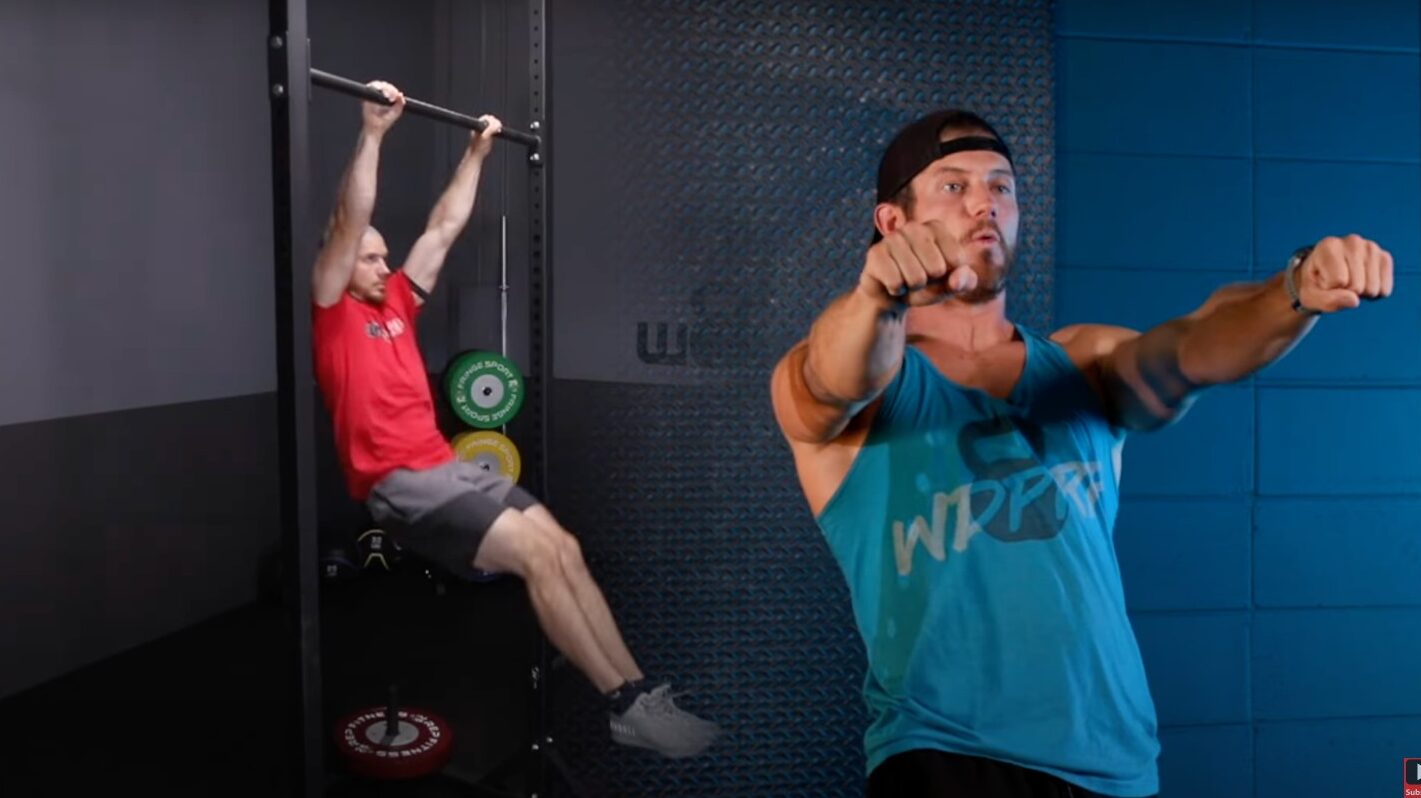
Hey there, it's Coach Ben from WODprep, and in this speedy read, I'm about to lay down the scoop on mastering kipping pull-ups. If you're aiming to up your pull-up game and snag some extra reps in a shorter span, you're in the right place.
Sure, I hear the haters chiming in – these aren't strict pull-ups, but remember, CrossFit has its own rhythm, and it's all about maximizing output in minimal time.
So, if you're game to learn the art of the kip, let's dive into my five-step playbook.
Step 1: Required Strength
First things first, don't dive into kipping pull-ups without the proper strength. It's like trying to sprint before you've got your walking down.
If you can't bang out a few strict pull-ups, don't start kipping just yet. Strengthen those shoulders and build a solid base before you even think about the kip.
Step 2: Hollow & Arch Positions
Kipping pull-ups are all about the hollow and arch positions – the building blocks of the kip. The Hollow position? Imagine hanging from the bar with your hands and feet in front of you, your core locked and loaded.
Then there's the arch position, where your hands and feet are behind you, yet your core remains tight. Rocking back and forth between these two positions helps you nail the rhythm and control needed for the kip.
Step 3: Hollow, Arch, Lever
Level up to a more elevated Hollow position by flexing those lats. It's like giving your pull-up some extra oomph.

Activate your core, get that Hollow-Arch rhythm going, and then up the ante by pushing down on the bar with straight arms. This gets your shoulders up and back, elevating your body as you prepare to get the hips involved.
Step 4: Closed Legs Frog Kick
Now comes the frog kick – think of it as your pull-up's secret weapon. At the peak of your swing, after that Lever move, a well-timed, subtle frog kick comes into play.
Keep your legs together, and with a snappy hip motion, watch your body ascend towards the bar. It might seem small, but it's a game-changer.
Step 5: Multiple Kipping Pull-Ups
The final frontier: linking those kipping pull-ups together. After your chin crosses the pull-up bar, don't just drop like a rock. Here's the trick: push away from the bar at the top of the movement. This sets you up in the prime Hollow position to swing into your Arch and start the cycle again.
To Summarize
So there you have it – five steps to unlocking the world of kipping pull-ups. These steps are your ticket to maximizing pull-up volume while maintaining CrossFit's dynamic intensity.
And if you're hungry for more in-depth guidance, head over to wodprep.com/pull-ups. I've got a free pull-up course ready to roll, just for you.
